The two editors I wanted to explore with are Atom and Brackets. I never used these editors before and wanted to explore what they offer and see which one I liked more than the other.
After experimenting with these two editors I decided to use Atom which can be downloaded from https://atom.io/.
I liked using Atom more than Brackets because I felt more comfortable with its layout and how the code’s font and size is displayed more clearly. Also I found it easier to customize and find different packages to install. Even though I chose Atom over Brackets I found Brackets to be not that bad and recommend you to try it out.
Here’s how Atom looks with the entire Mozilla Brackets project opened in it:
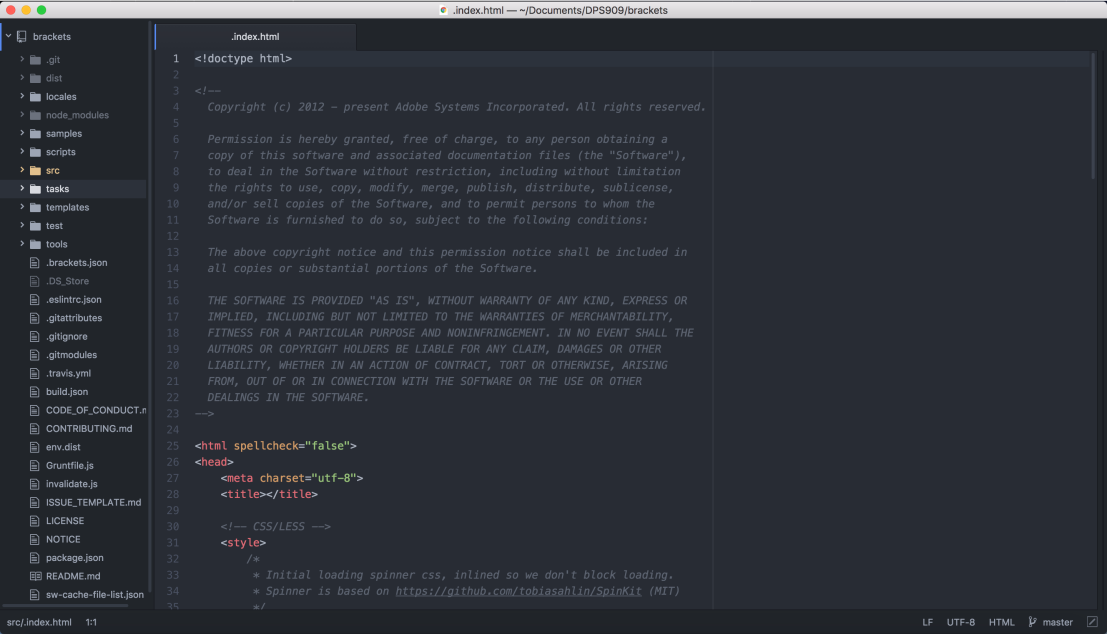
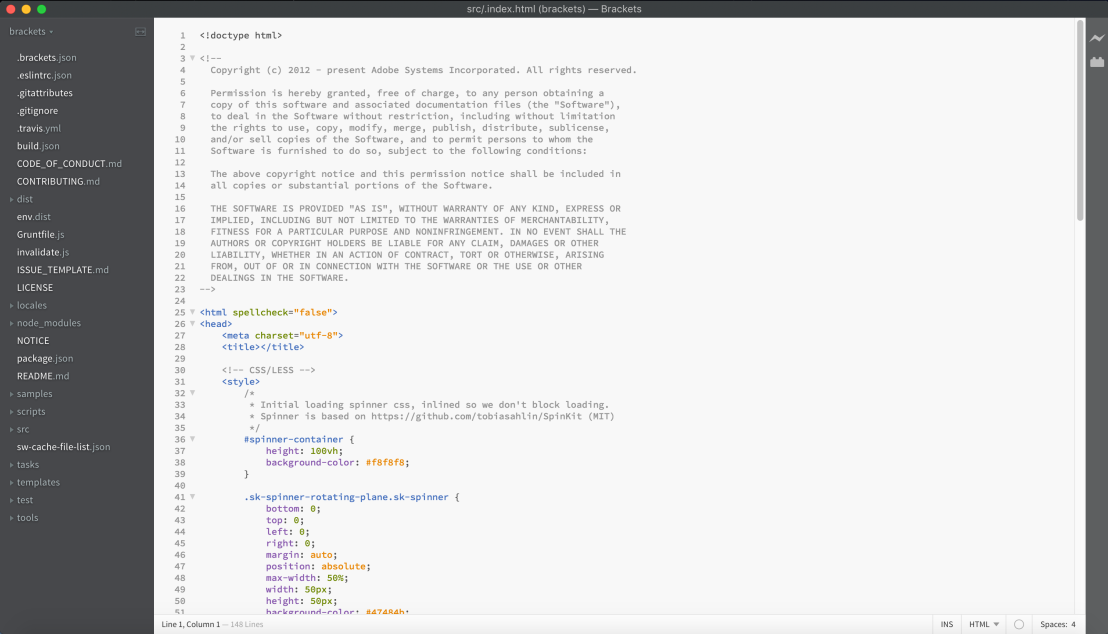
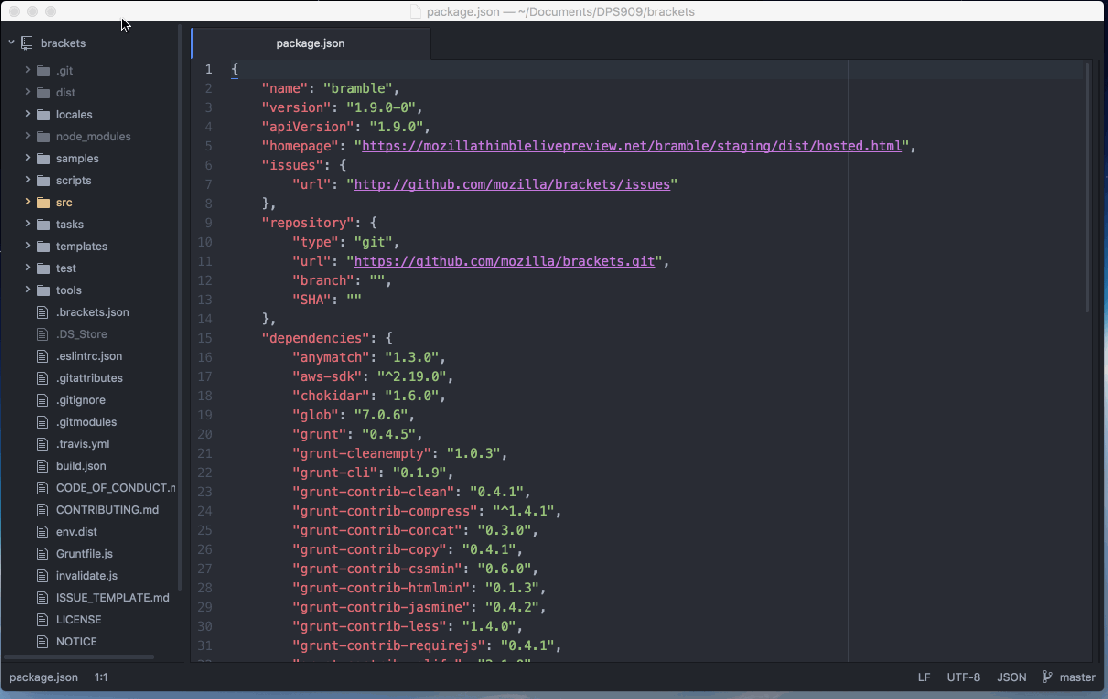
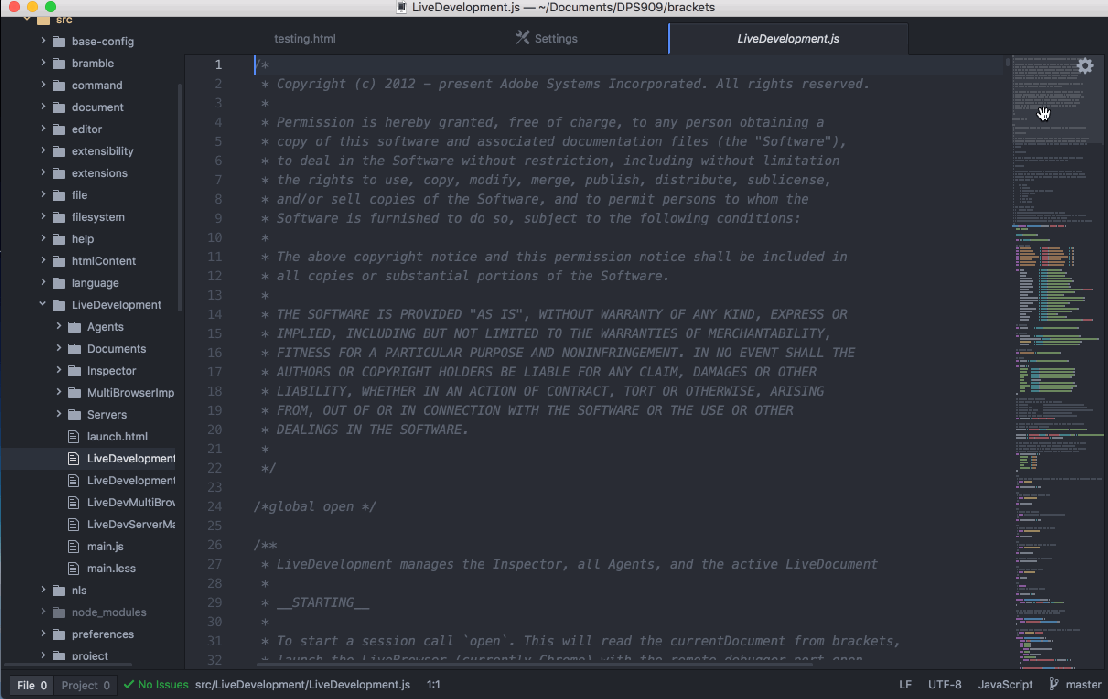
And this is how Brackets looks:
I will be demonstrating how to do 5 simple tasks with the Atom editor. These tasks are:
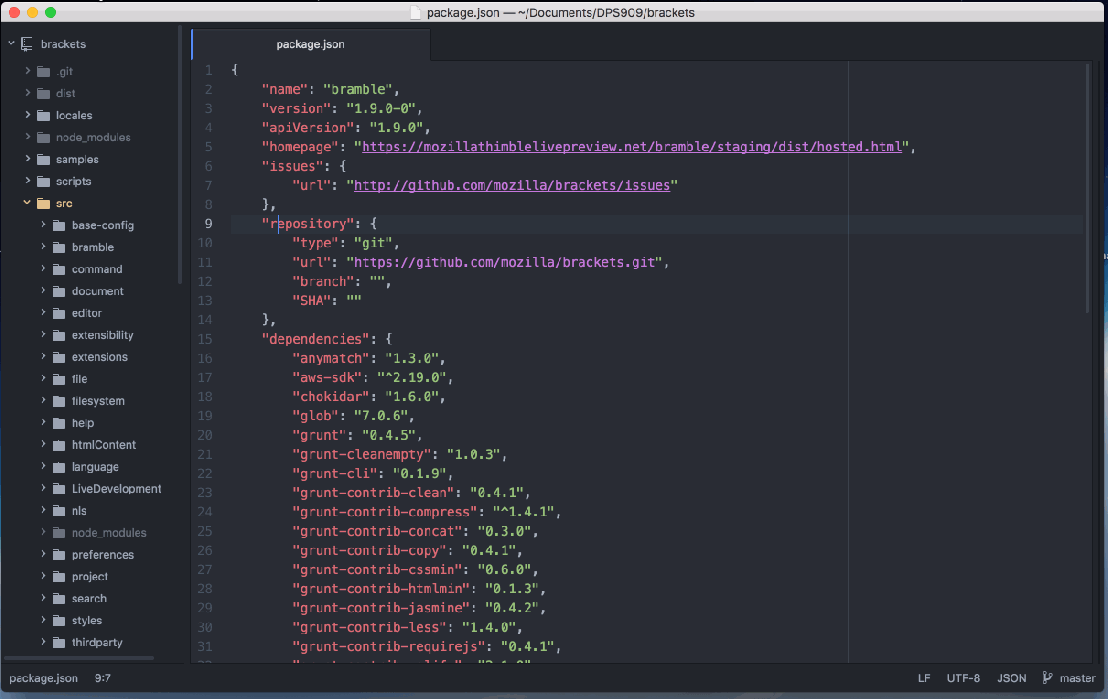
- How to open an entire project
- How to open the editor from the command line
- How to split the screen into multiple panes
- How to install editor extensions (packages)
- How to change the theme of the editor
How to open an entire project:
Like most editors opening an entire project is done in a similar way. When you first open Atom it displays a Welcome Guide with an option to open a project. This is done like this:
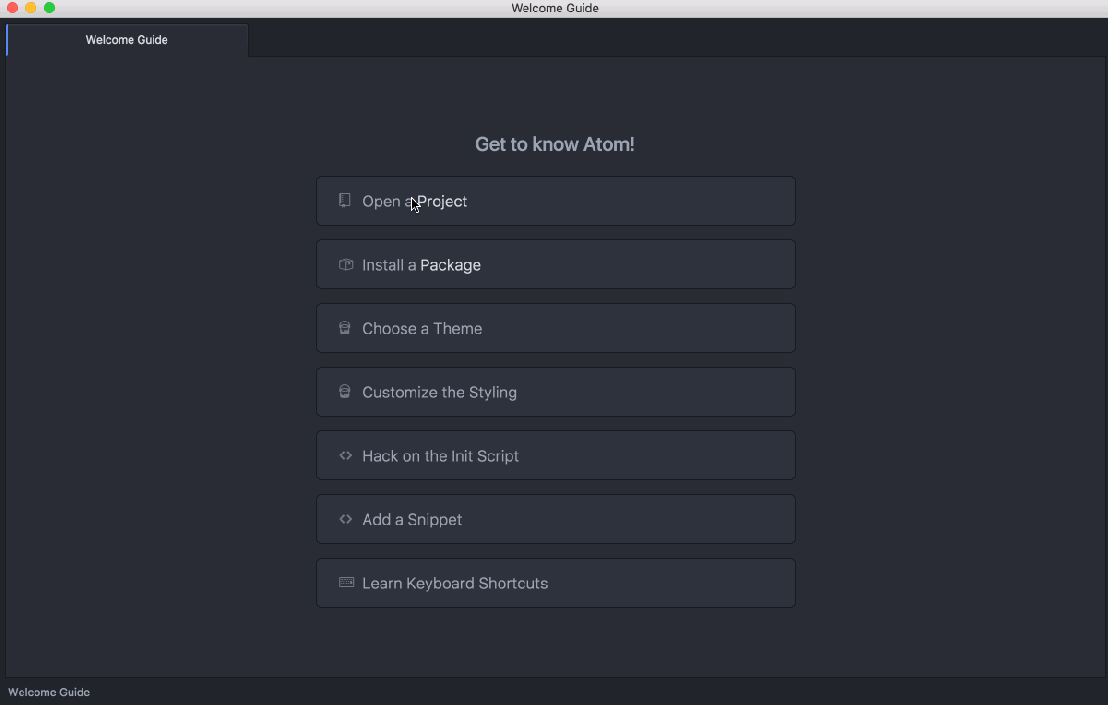
You can also open a project by going to File -> Open… -> and selecting the project you want to open.
How to open the editor from the command line:
Before you can open Atom in the command line you need to install the shell commands. This is done by going to Atom > Install Shell Commands. Then you can open Atom from the command line by simply typing “atom” in the terminal. This is done like this:
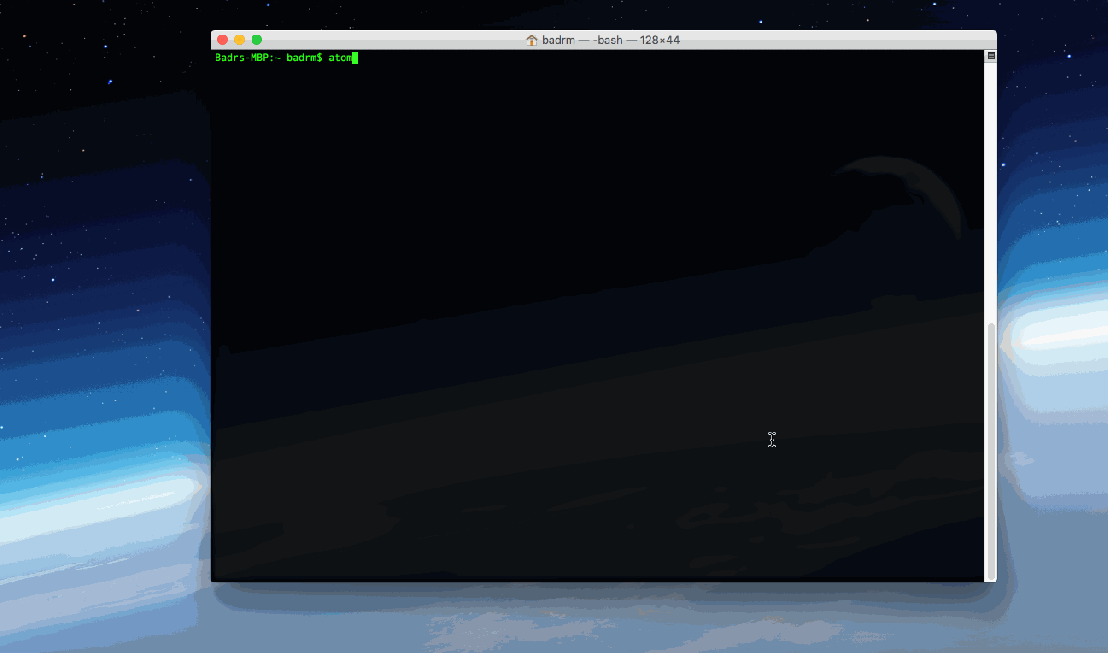
You can also type “atom <file or project path>” which will open a file or project in Atom.
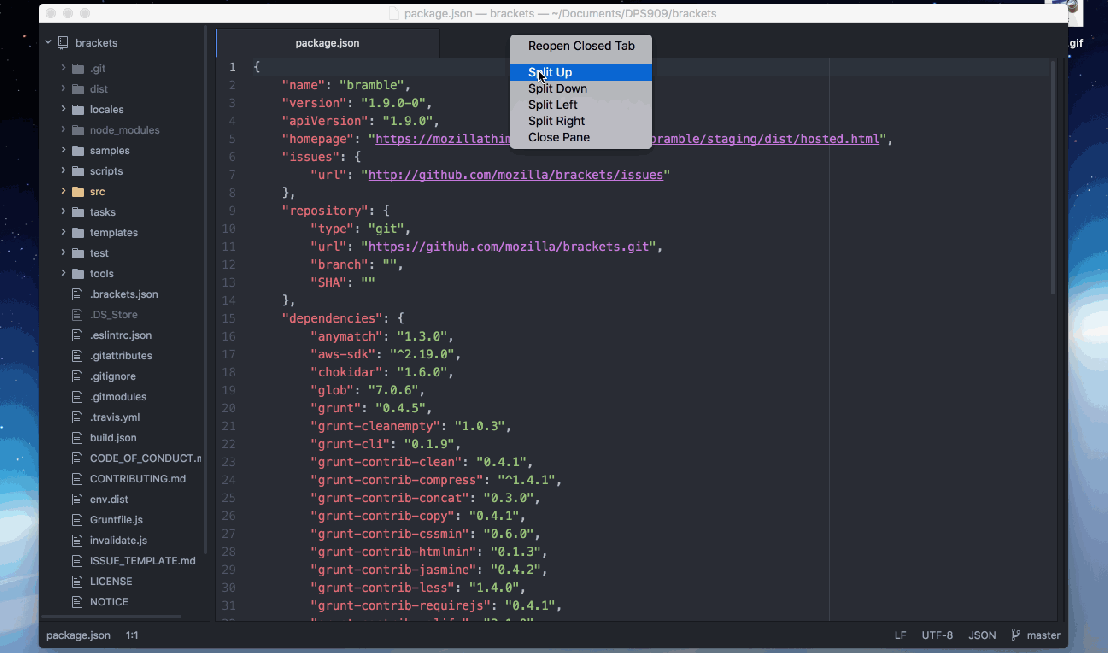
How to split the screen into multiple panes:
Splitting the screen into multiple panes can be done like this:
How to install editor extensions (packages):
Installing extensions/packages in Atom is very simple. You goto Atom -> Preferences. This will open a Settings window in the editor. Than you goto Install and type in the package you want to install. This is done like this:
The install section also displays featured packages that you can install.
How to change the theme of the editor:
Many editors enable you to change the theme of the editor. To do this in Atom you goto Atom -> Preferences -> Themes. You can select from the pre-loaded themes. This is done like this:
You can also choose to style Atom by editing the stylesheet.
My 5 favourite extensions(packages) for Atom:
Atom offers many extensions(packages) that you can install. The 5 most packages I found to be my favourite and most useful are:
linter-jsonlint:
This package I found to be very useful for linting JSON files. It saves you a lot of time when you are trying to find where the syntax error is in a JSON file. There are also other packages available for linting other file types like HTML, CSS, PHP, JavaScript, etc. Here is a demonstration of how this package works:

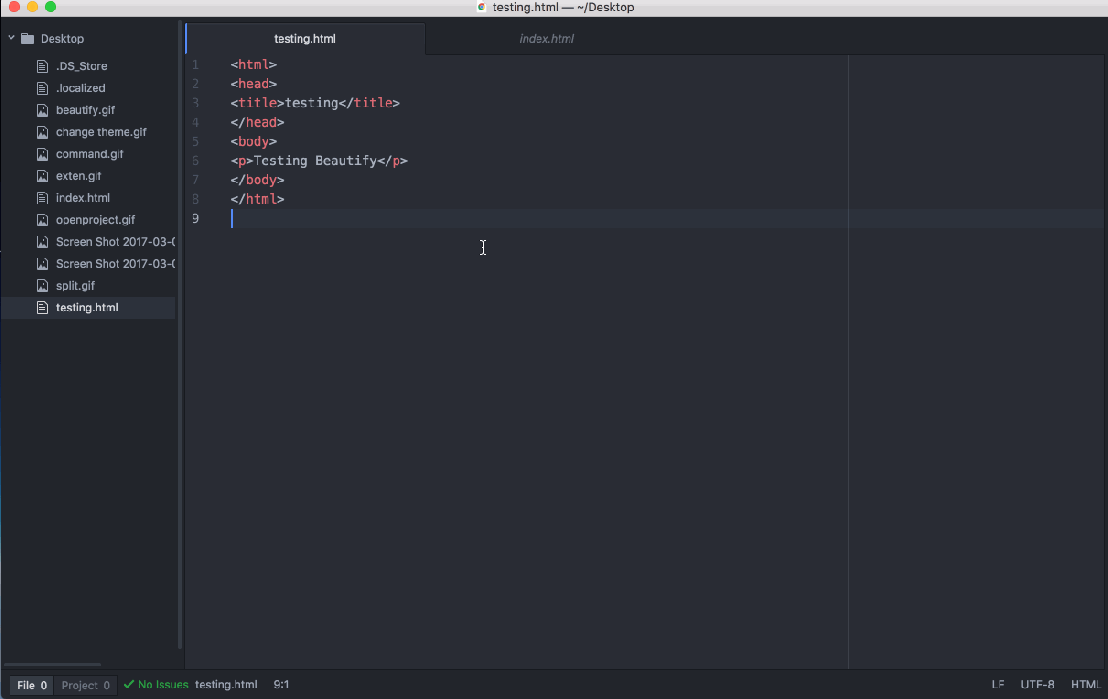
atom-beautify:
I found this package to be really useful for formatting code. Instead of going through every line to format the code properly, you can use this package to do it for you. It saves a lot of time. Here is a demonstration of this package:
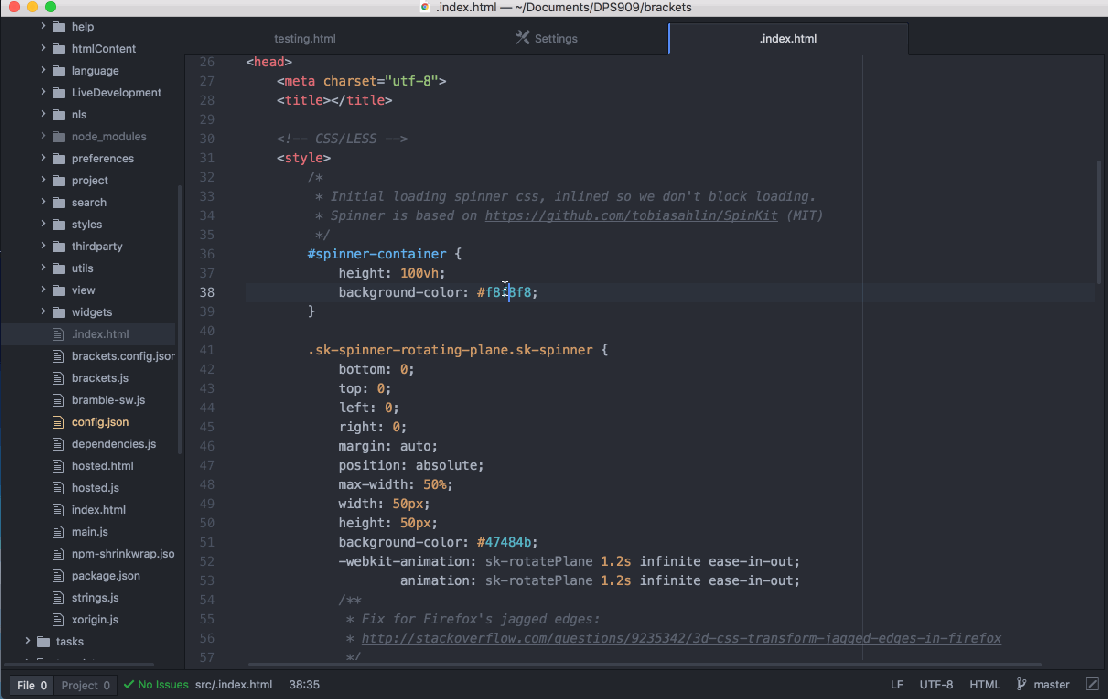
color-picker:
This package is quite interesting and useful. It shows you a preview of the color you want to pick in the CSS file. Instead of browsing through the different colors available, you can use this package which shows all the colors to you in the editor. Here is a demonstration of this package working:
minimap:
I found this package to be really useful when working on files. It allows you to scroll through a file that contains a lot of lines of code faster. This package saves you a lot of time when scrolling through a file with 1000s of lines of code. The Sublime Text editor has this feature and it was great finding a package for Atom that offers this feature. Here is a demonstration of this package:
git-plus:
The git-plus package is also one of my favourite in Atom. It enables you to work with Git without leaving the editor. I found this to be quite useful. Inside of the editor you can add, commit, push, pull, and do other git commands.